Oracle APEX 20.x and latest Stripe v3 integration
Stripe v3 integration using session tokens - part 2
In this blog we will have a quick look at integration of Stripe Checkout form using Session tokens.
This post is a continuation on a Part 1 post of this series.

Which looks very similar to our demo example in Part 1 except that now we have a CHECKOUT_SESSION_ID instead of line_tems we sent earlier to new Stripe checkout form.


If you have a deeper look at Stripe documentation under https://stripe.com/docs/payments/checkout/migration it guides you on how to migrate your older checkout forms to a new one. You will notice this piece of JS code

Which looks very similar to our demo example in Part 1 except that now we have a CHECKOUT_SESSION_ID instead of line_tems we sent earlier to new Stripe checkout form.
Hmh... how does this work then?
Again as before let's create a new page (or you can start by copying the previous example).
On this page we will have one region and one button that will execute dynamic action to initiate the payment. I named my button again a MAKE_PAYMENT button.
Something something similar to

On this button we will add DA that executes PL/SQL code:
beginCode for get_stripe_session_token is here.
stripe_api.set_secret(:STRIPE_SECRET);--Stripe API key
:PX_SESSION_TOKEN := stripe_api.get_stripe_session_token(
p_prices => :PX_SPONSOR_TYPES
, p_email => 'yourEmail@gmail.com'
, p_success_url => :PX_PAGE_URL_SUCCESS
, p_cancel_url => :PX_PAGE_URL
);
end;

What this code does is executes a POST request call to STRIPE API https://api.stripe.com/v1/checkout/sessions forwarding all details it needs to generate a token for us.
Please do note that again I am using Stipe products and product prices that are sent into this function call as concatenated stings delimited with ":".
Which we can do by using a APEX checkbox page item.
Again we need our Stripe API keys but this time we need a private key which you can find under Developers -> API in your Stripe Dashboard.
This will then get stored in PX_SESSION_TOKEN hidden page item we already created.
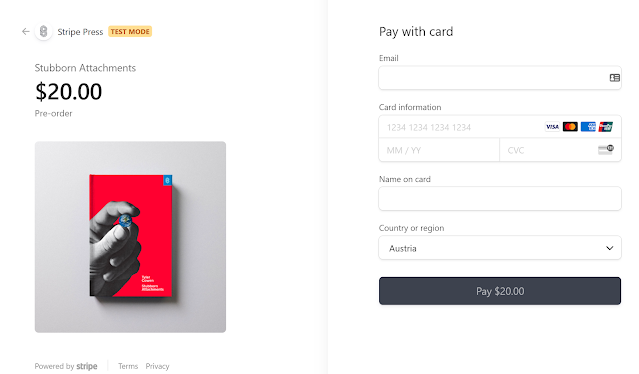
Now once token is retrieved we are now able to call Stripe checkout form exactly the same as we have done in part one.
Create a new dynamic action on PX_SESSION_TOKEN changes and when item is not null to execute JavaScript code
var stripe = Stripe('pk_xxxxxxxxxxxxxxxx');This should result in Stripe checkout form being loaded
stripe.redirectToCheckout({
sessionId: $v('PX_SESSION_TOKEN')
}).then(function (result) {
if (result.error) {
console.log('Error opening Stripe payment page.');
}
});

Once details are entered and payment is successful users will be returned back to APEX page using SUCCESS and CANCEL URLs we specified.
This we can then use for displaying success message.

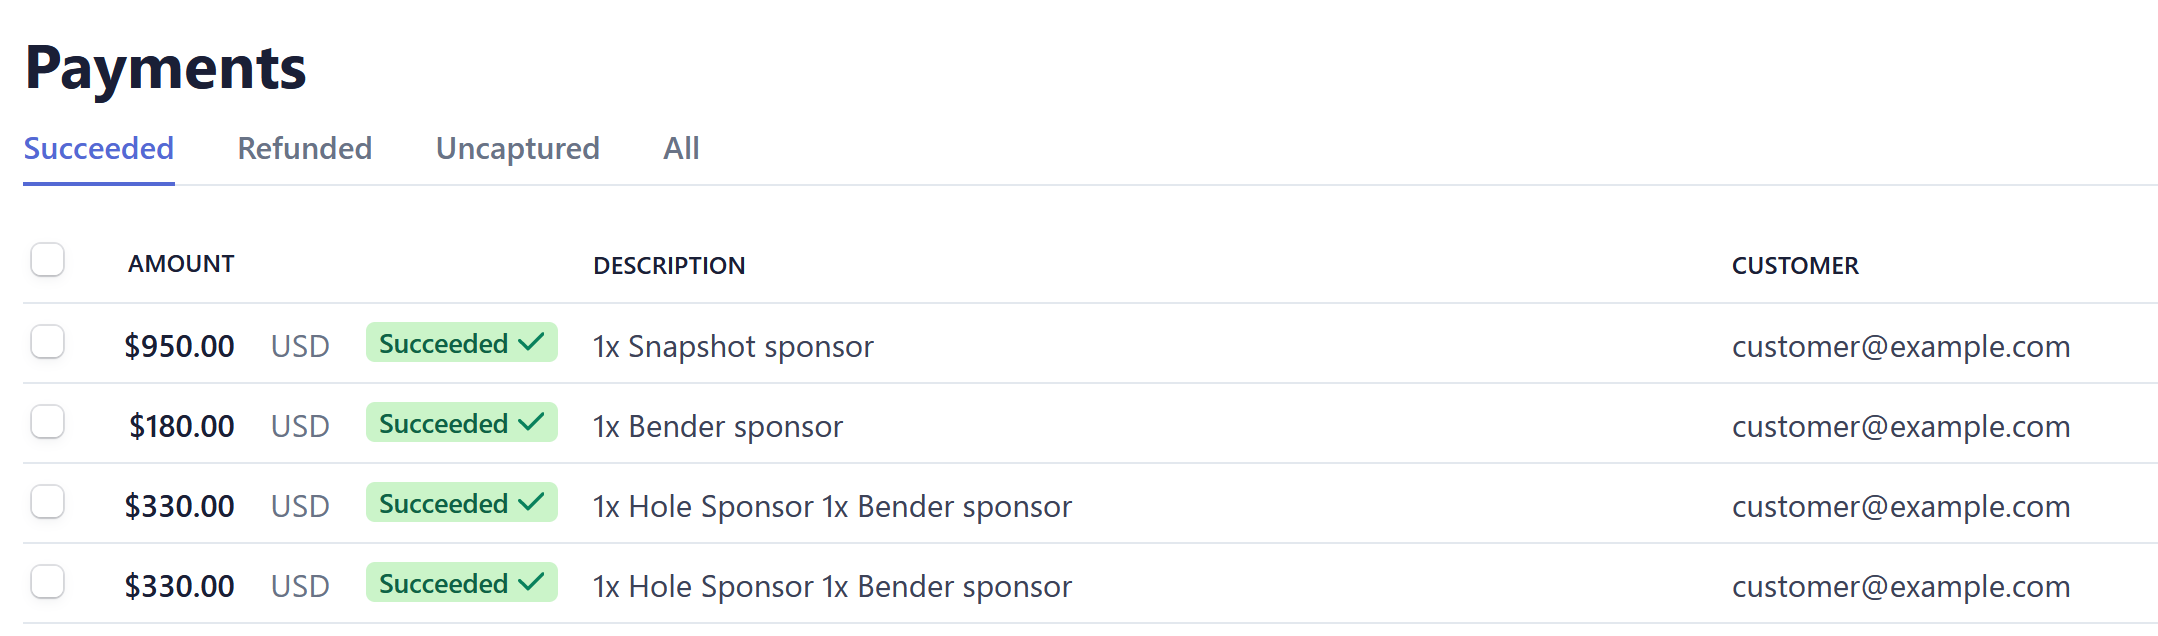
How
do we check if payment was successful from Stripe side - you can open
Payments link in Dashboard https://dashboard.stripe.com/test/payments
also you can check all logs under Developers-> Logs:
https://dashboard.stripe.com/test/logs
Of course these checks can be done using REST API too but that is for another day.
In case you wonder how I am getting query for my check-boxes.
Since I have defined Product and Prices in Stripe, all application LOV are all based on REST data sources which enable us to tightly integrate the two systems without having to have an admin maintenance on APEX end.

More about how to do this you can read in the next post where we will explore how to integrate Stripe checkout form directly into APEX app with no redirections and do the card payments all on the server side giving us a little more control over the whole process.
Stay tuned.
Happy APEXing,
Lino
Lino
No comments:
Post a Comment