Oracle APEX and Adobe Sign electronic signature integration
Retrieving the access Token
Now that we have verified that our ORDS REST redirect call is functioning as expected we need to try doing the same using the full Adobe OAuth process.
Again the simplest way is add another button called Request authorization to your page which will be submitting the page or redirecting to URL should work too.
Add a post processing branch that redirects to
https://secure.au1.adobesign.com/public/oauth/v2?redirect_uri=https%3A%2F%2Fapex.oracle.com%2Fpls%2Fapex%2FYOURREST%2Fadobe%2Fredirect
&response_type=code
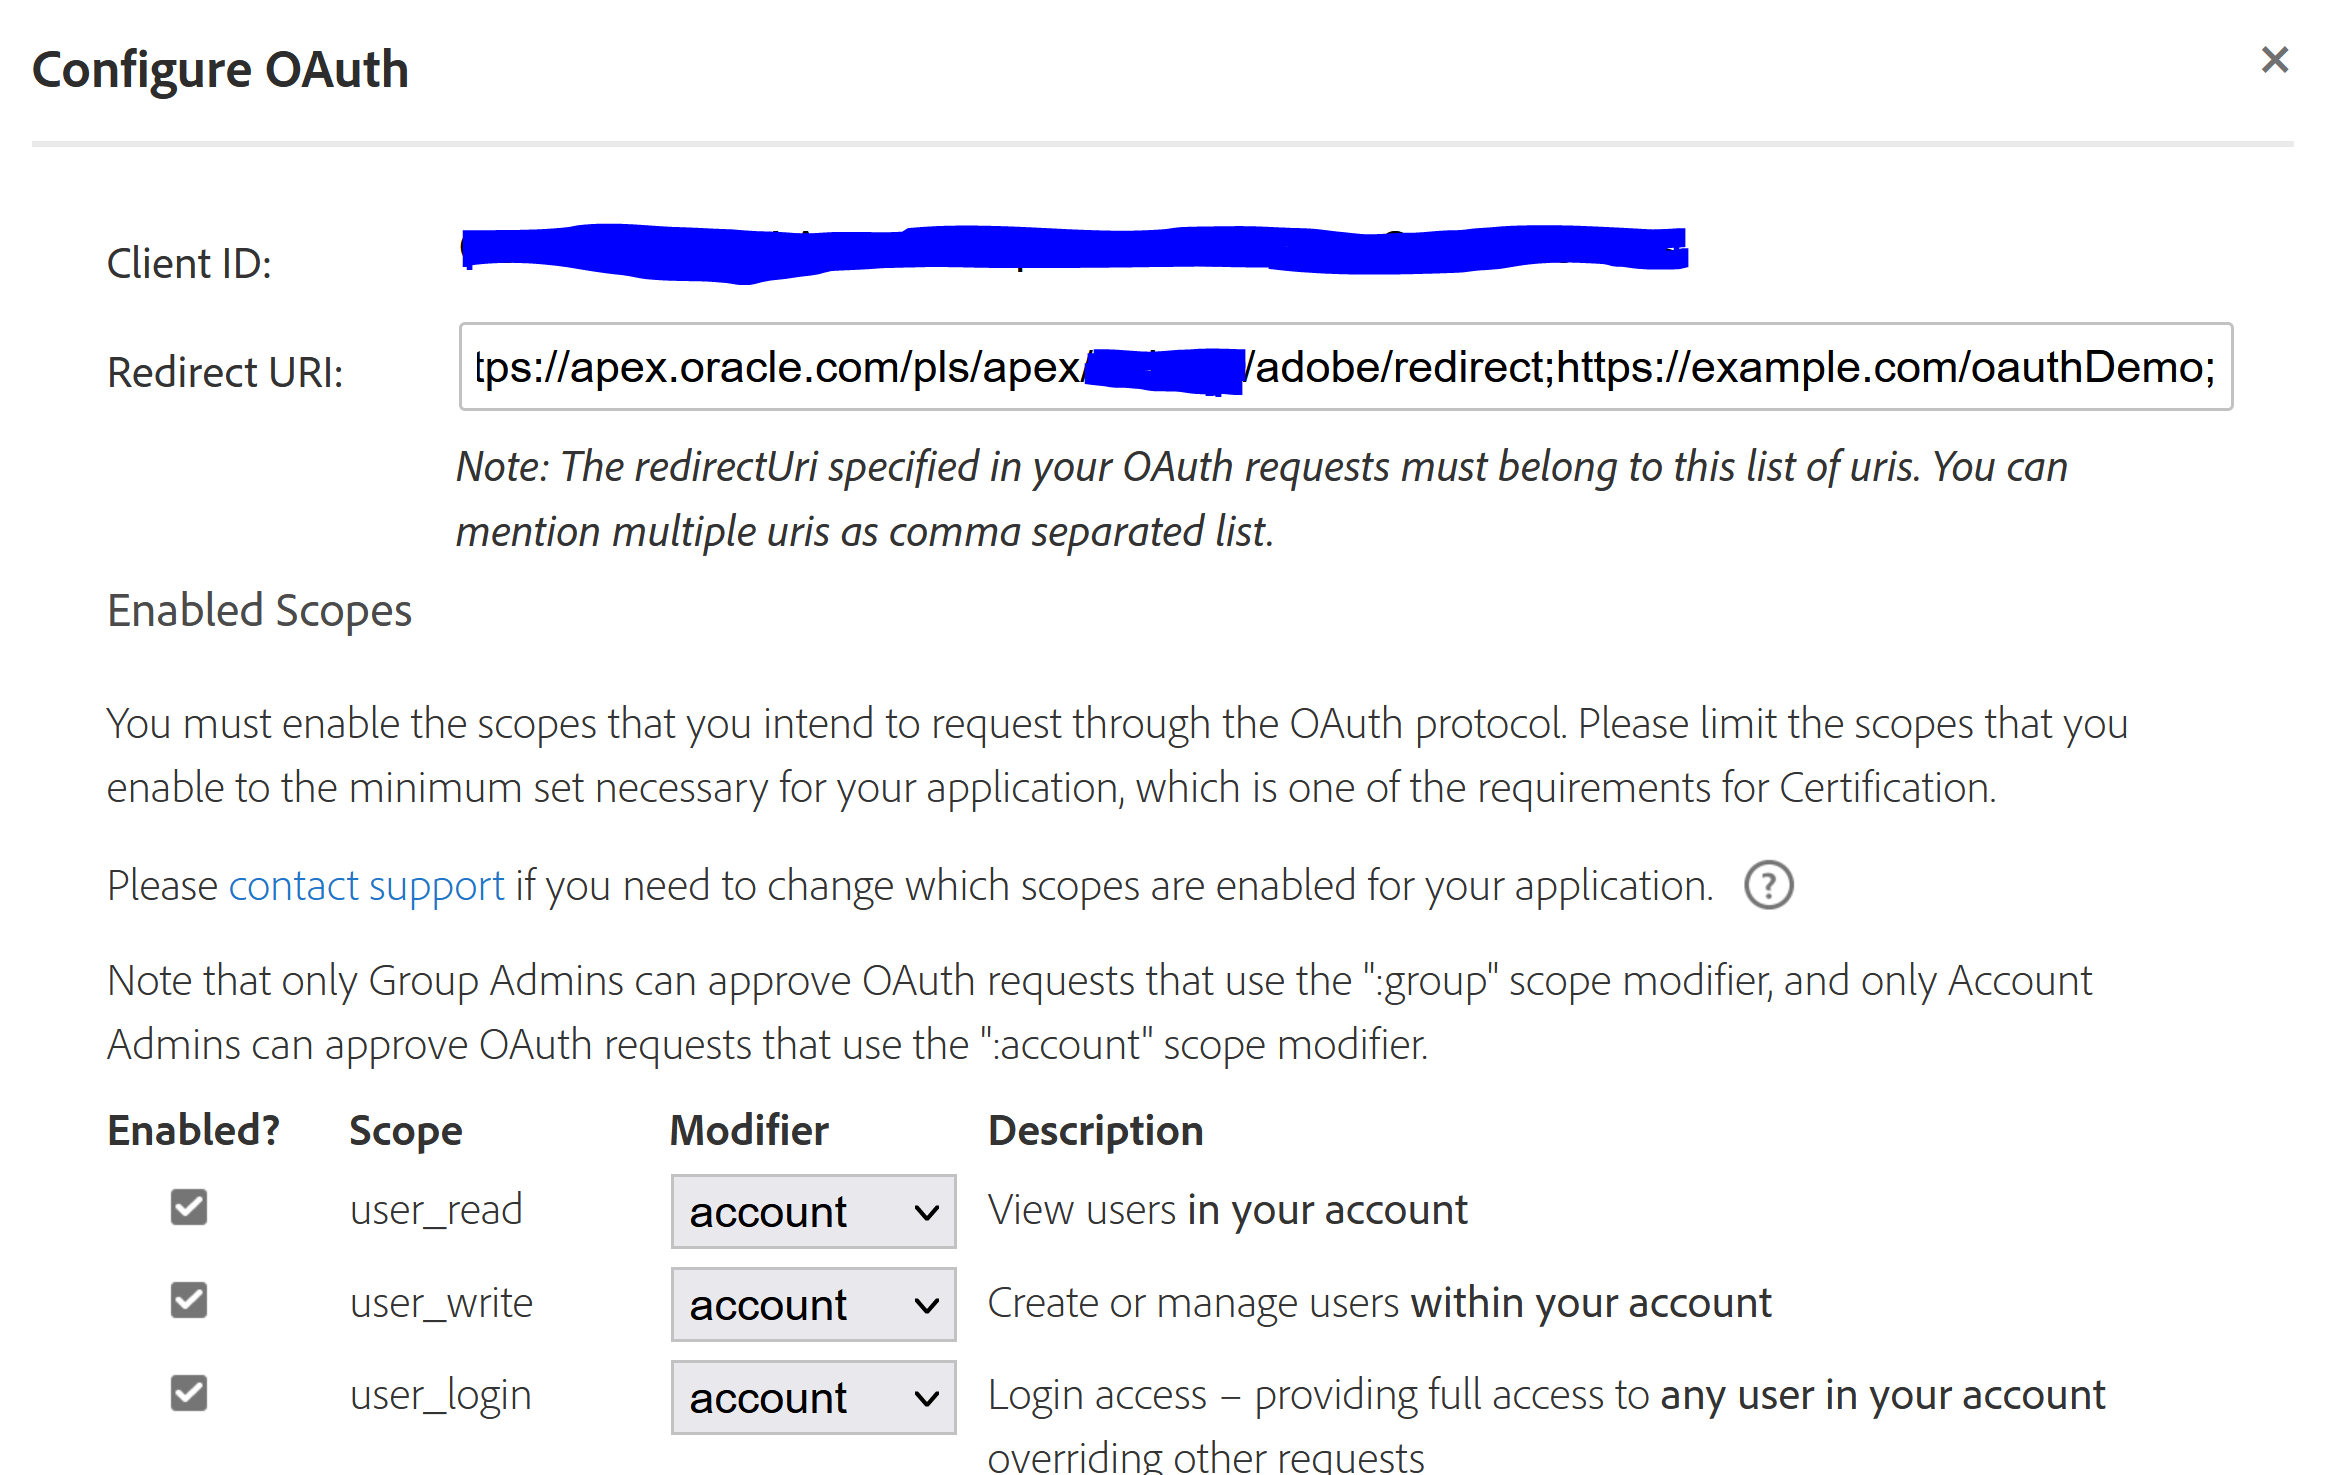
&client_id=&YOUR_CLIENT_ID.
&state=&APP_SESSION.
&scope=user_read:self+user_write:self+user_login:self+agreement_read:self+agreement_write:self+agreement_send:self+widget_read:self+widget_write:self+library_read:self+library_write:self+workflow_read:self+workflow_write:self
Make sure you replace client ID with your client ID and that redirect URI matches URI you used in Adobe application settings under configure OAuth up to the ../redirect part.
Only once you updated your Adobe settings will things start to work. Scope parameter is more explained on Adobe site. I simply added all of them.
Now add a page item called CODE which will store the value of the code that is sent back to APEX from Adobe once user has accepted and allowed APEX to access their details.
Run your page and click on Request Authorization button. you should be redirected to Adobe login; redirected back and landed on the same page with page item Code now containing information we need to provide to finally retrieve an Access Token.
At this stage we are back to the place which we are familiar with, it only comes down to calling and consuming Adobe REST APIs using apex_web_service API.
One last thing to remember is that Code returned by Adobe is only valid for next 5 minutes. So let's get going onto the next important part and that is getting the access token.
Let's create another button called Access token, that will submit the page and execute Get Adobe Access token process with this PLSQL.
Create an PXX_ACCESS_TOKEN page item. Run the page. If your code has expired you might have to rerun the process from step 1 before clicking on the new button.
Important to note is that adobe redirects people based on the location to different urls, I had to use https://api.au1.adobesign.com you need to replace yours to one that maps to your location.
This REST API will result in JSON response like
{
   "access_token":"3AAABLblThIsIsNoTaReAlToKeNPr6Cv8KcZ9p7E93k2Tf",
   "refresh_token":"3AAABLblThIsIsNoTaReAlToKeNWsLa2ZBVpD0uc*",
   "token_type":"Bearer",
   "expires_in":3600,
   "api_access_point ":"https://api.na1.adobesign.com/",
   "web_access_point":" https://secure.na1.adobesign.com/"
}
and at this stage there is an important information we need to store going forward. This is a refresh token. Why?
Refresh token has a life span of 60 days meaning instead of repeating this process from scratch we can use refresh token to later on request a new access token which is used as Bearer token in next API calls.
Just an FYI, refresh token can be sent in a call as
l_response := apex_web_service.make_rest_request
(p_url => 'https://api.XX1.adobesign.com/oauth/v2/refresh',
p_http_method => 'POST',
p_body => 'grant_type=refresh_token'
|| '&refresh_token=' || :PX_REFRESH_TOKEN
|| '&client_id=' || l_client_id
|| '&client_secret=' || l_client_secret
);
So if Access token is expired we can use refresh token to retrieve a new access token. Each time refresh token is utilized it extends its validity for another 60 days. In ideal world this might mean that if user uses the app on regular bases request authorization process might not ever be needed again.
Now we are ready to start uploading our first document.
Happy APEXing,
Lino


No comments:
Post a Comment