Oracle APEX 20.x and latest Stripe integration - v3
Quick guide on Stripe v3 integration - part 1
Exactly 4 years ago I had my first encounter with Stripe payment gateway so when I finally got a chance to revisit it I knew there was going to be some good blog material.
This series of 3 post is about how to integrate the latest version (Stripe /v3/) with your Oracle APEX applications.
Aside from that there were so many forum questions on this topic and many new payment systems came to the market that were demoed on recent APEX conferences which kept me wondering about how did/does Stripe compares to them nowadays.
Of course in this time Stripe also accelerated and got even more powerful which takes me back to a previous post done on this topic in February 2017.
That was more of a simple overview of things we have done with AOP application to show case this integration.
Let's start with a good news first and that is that your old "demo" app that integrated with your Stripe payments should continue to work with exceptions of few APIs being updated since. What does that mean?
Well if you visited the above blog post you would notices that it referenced Trent's series which lead us to first run-able demo of Stripe in APEX.

To conclude the intro it is sufficient to say that depending on how deep you integrated Stripe in your apps there might be a smaller or bigger upgrade project on a horizon as some responses might not return exact same JSON structure comparing to what they will do in Stripe /v3/. Other than that there is not much big of the difference your PL/SQL API calls will stay pretty much the same. Exception is the new Checkout form too but that is why we are here.

As you know there are quite a few features in there like web-hooks, invoicing, subscriptions and many more which you have to double check separately assuming your apps used some of them already. Very detailed documentation that is available will surely come in handy.
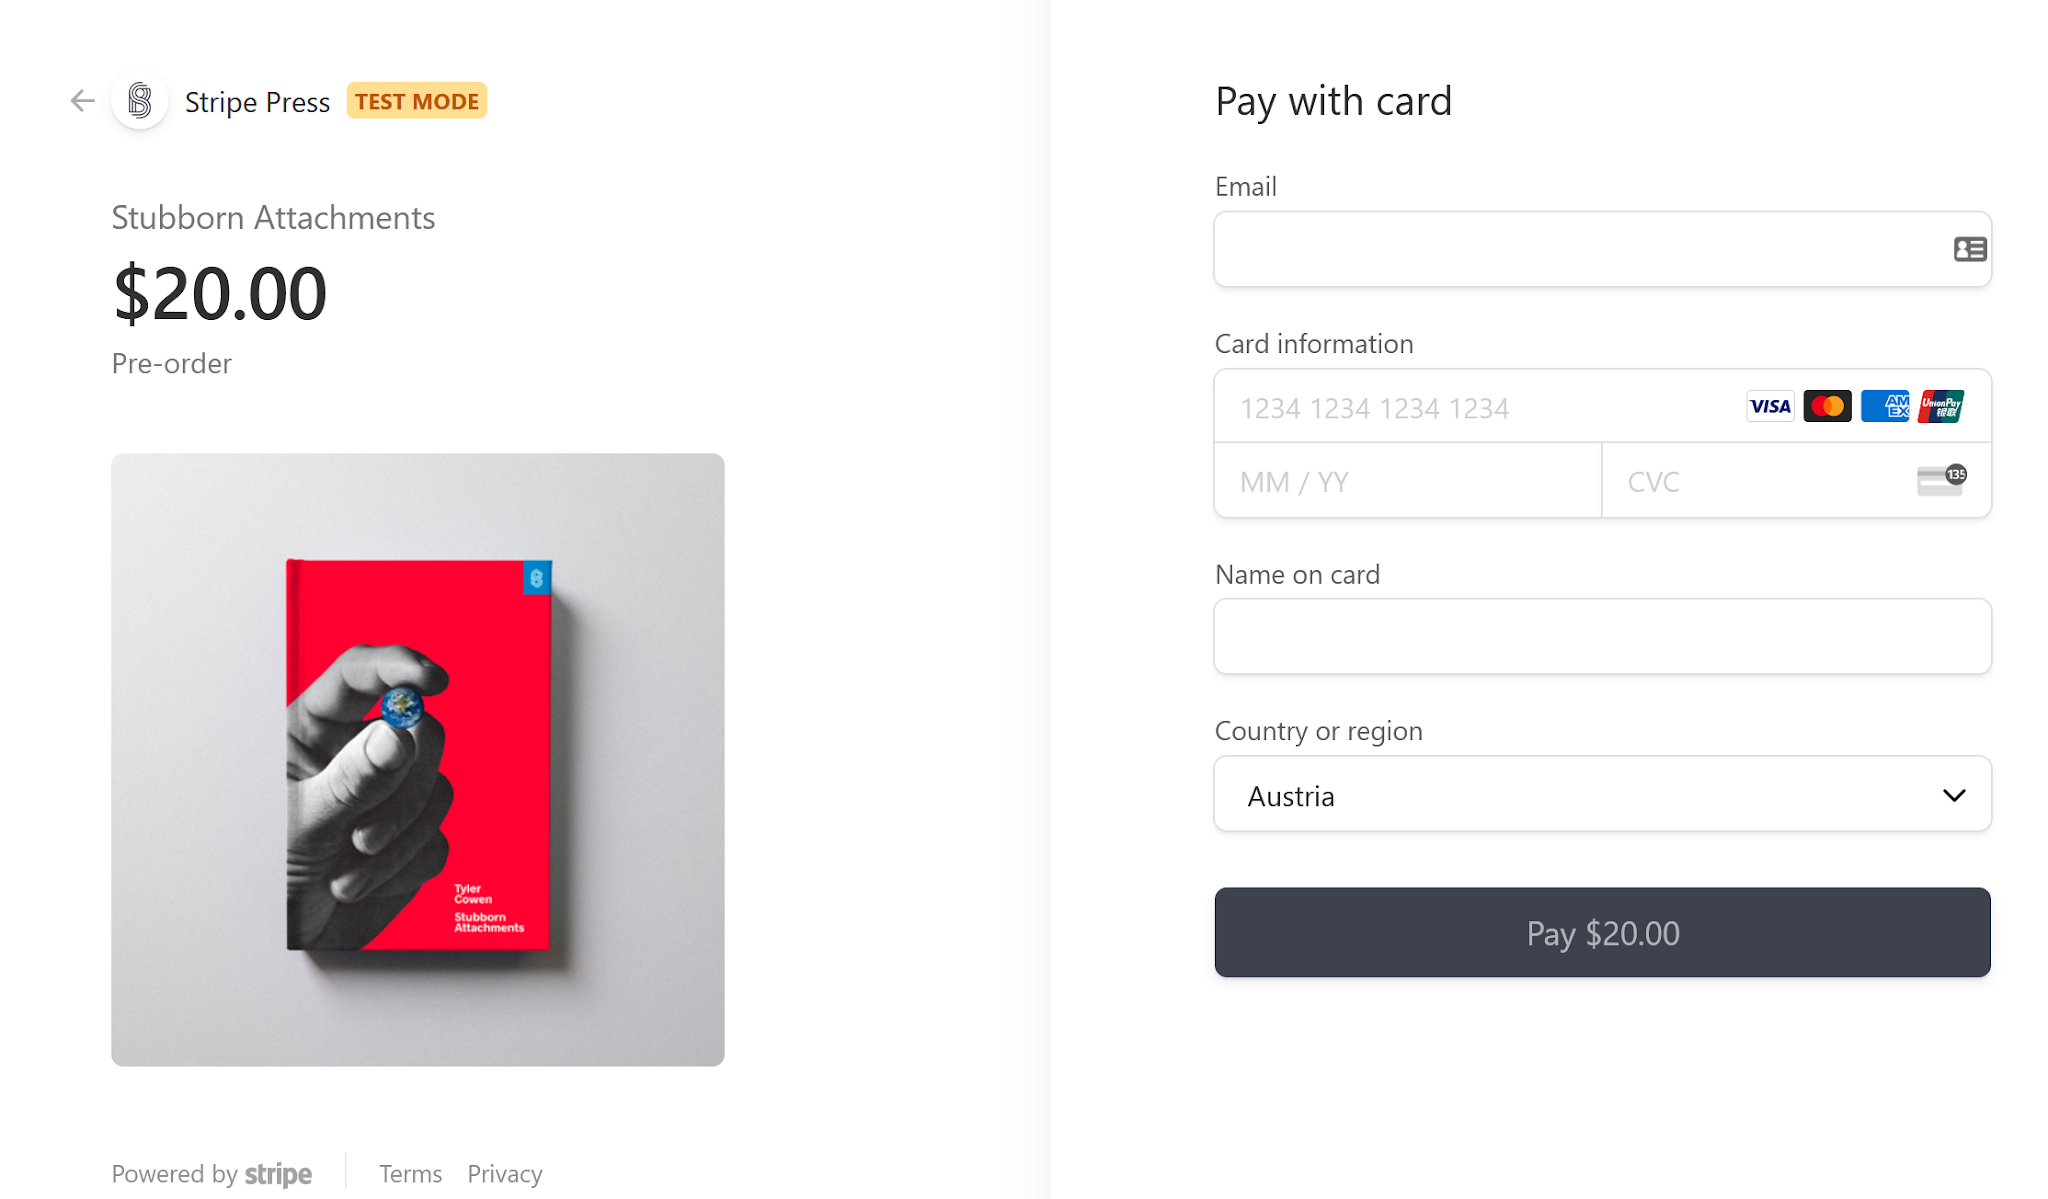
In this first post we will concentrate on JavaScript integration of the latest Stripe checkout form which is more secure and comes with even more features from version /v2/ or /v1/ (we all have seen before).
It comes with newer version of built in checkout form with new/updated set of JS modules. So if you are trying to migrate older version of a Stripe checkout form we all seen before (image above) this documentation might come in handy or simply follow this post till the end. ;)
Yes you heard it right! You can now create payments simply by using JavaScript which makes things even more better. Side note here, I am not sure since when this became available but I am sure it wasn't around in 2016/17 when I had my first go at Stripe.
Further to it there are few ways how we can do this and we will explore two in these blog series.
First thing first - you have to create an account with Stripe so you can log in into https://dashboard.stripe.com. You have to do this regardless whether or not you integrated your apps following earlier posts. Once you logged in it should be looking similar to this.

Perfect! We are now all set to explore this new feature. Please note that you need to have your database ACL configured as explained in previous posts.
Let's create an app (or a page in your existing app) containing one single region and one single button that we will call MAKE_PAYMENT.
After that we will add dynamic action to the button which will execute true action - JavaScript code:
var stripe = Stripe('STRIPE_PUBLIC_KEY');var str = '[{"price":"price_1XXXXXXXXXXXXXXXXXXX", "quantity": 1}]';stripe.redirectToCheckout({lineItems: JSON.parse(str),mode: 'payment',successUrl: 'example.com',cancelUrl: 'example.com',customerEmail: 'yourEmail@example.com'}).then(function (result) {if (result.error) {console.log('Error opening Stripe payment page.');}});
As you see before we will be able to use this, there are few configs we need to make but in essence this is all there is to it.
First add reference to latest Stripe JavaScript library in your page header
https://js.stripe.com/v3/
Next we have to find STRIPE_PUBLIC_KEY which you can find in Stripe dashboard under Developers API keys
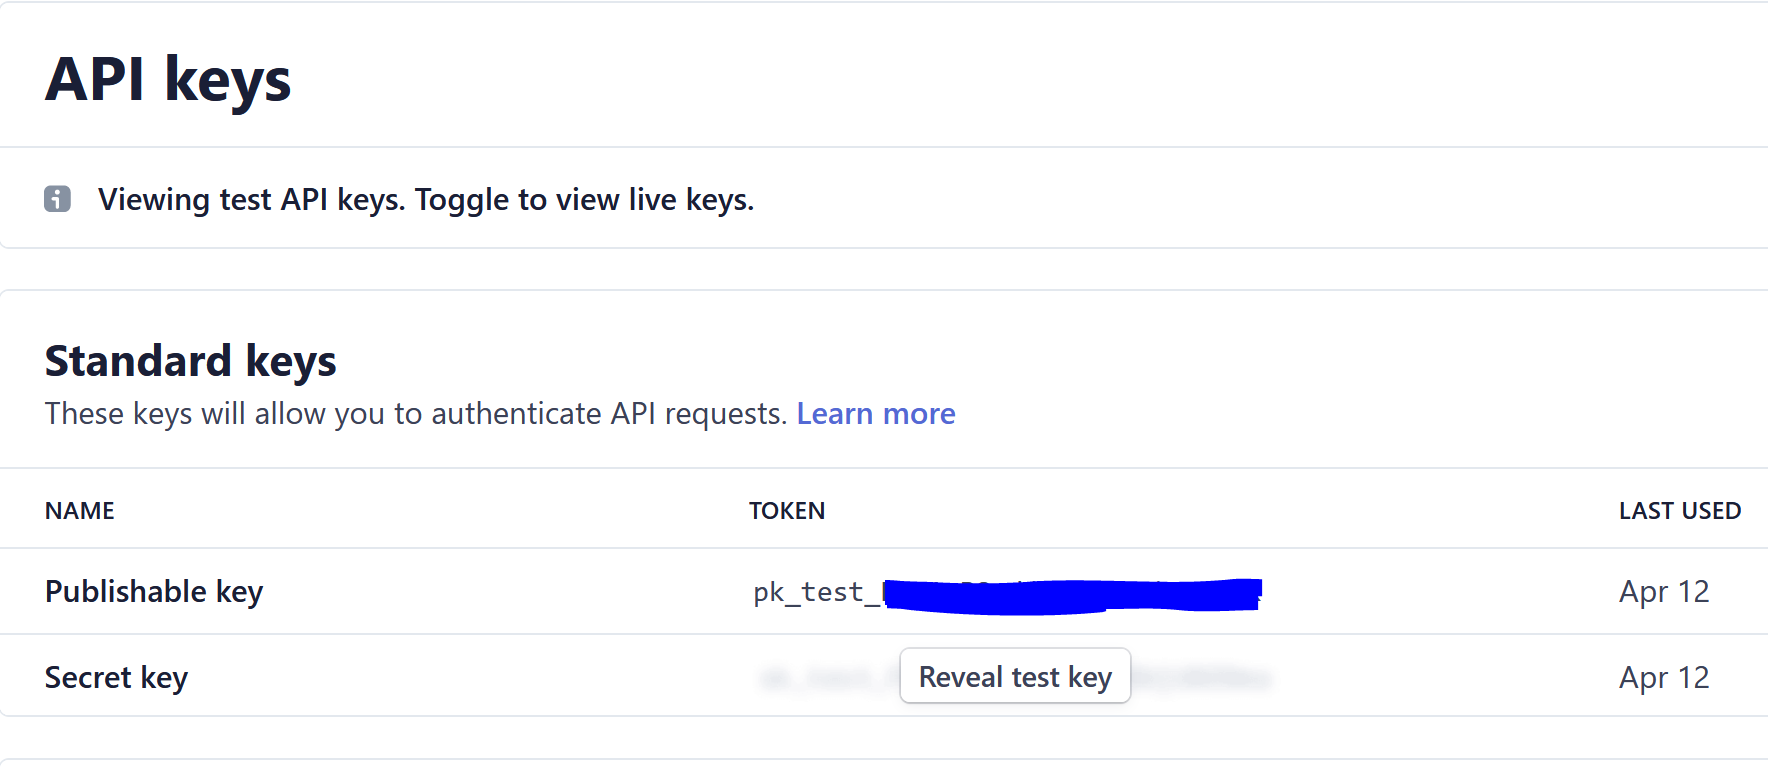
You can make a note of both keys but in this example we only need Publishable key and simply copy it into JS above.
Great, now step #3 what is this str value and where do we get priceID.
This has to do with a Stripe products - https://dashboard.stripe.com/test/products
Here I created 4 products my form will be offering to the end users.
As you create each product you can click on it to see its details among others there will be priceID in there too.
Similar to

In this demo idea was to utilize most of Stripe ability as we can which is then to have products defined in Stripe which auto creates Prices which we can leverage in our APIs.
Notice that we need a quantity which in our case will be set to 1 for the demo purpose.
Last three inputs sucess_url, cancel_url and customer_email of course can be APEX generated URLs and email address that we pick from user logged in the app.
In my demo example for this reason I added 4 additional hidden fields: PX_URL_CANCEL, PX_SUCCESS_URL, PX_SUCCESS_MSG and PX_EMAIL which will be passed into this JavaScript call. Of course in SUCCESS_URL you can reference back your page item so once Stripe does it magic it will populate it which then we can use for displaying Success messages to end users.

Returning back into APEX and displaying success message.

Most of these are self-explanatory.
Important: To be able to do this you need to enable CLIENT-ONLY integration option in Stripe dashboard under https://dashboard.stripe.com/settings/checkout
Save your page and let's see what happens.
If we got everything right on a click of the button you should now get the new look and feel Stripe checkout form which will handle all for you. You can fill in details and it should try navigate you back to your SUCCESS_URL.
It will verify cards it will support any kind of payment like Apple and Google pay, bank account payments etc..... all with one click of a button. Very simple and yet very powerful.
This demo of course does not cover all of this but it should give you a head start into exploring the possibilities.
How do we check if payment was successful from Stripe side - you can open Payments link in Dashboard https://dashboard.stripe.com/test/payments also you can check all logs under Developers-> Logs: https://dashboard.stripe.com/test/logs
In the next post we will explore how to do the same New Checkout form using Stripe session token.
Happy APEXing,
Lino
Lino
Excellent
ReplyDeleteDo you have anything with Paypal
ReplyDeleteNo unfortunately I do not have a Paypal integration examples.
DeleteYed
DeleteHi, please I get this error (in console Javascript) when I press button
ReplyDeletePOST https://api.stripe.com/v1/payment_pages 400
Uncaught (in promise) IntegrationError: In order to use Checkout, you must set an account or business name at https://dashboard.stripe.com/account.
Could you help me? Thansk
It is hard to tell from here, please make sure you have set up a correct account name in Stripe Dashboard. Otherwise you have to debug this and provide more details for me to be able to help you.
Delete